Removing/Installing Wheels
| Time, Total Time, Cost, First-Time Cost | 30min, 50min, $0, $0 |
| Number of Persons | 1 |
| Difficulty level | 1 |
| Tools | Torque wrench, 5" extension, 19mm socket, flat-blade screwdriver, rag, cordless screwdriver (optional) |
| Special Tools | None |
| Special Parts | None |
| Service Manual Pages | 18-15 |
| Prerequisite | Jack (20min) |
Removal Procedure
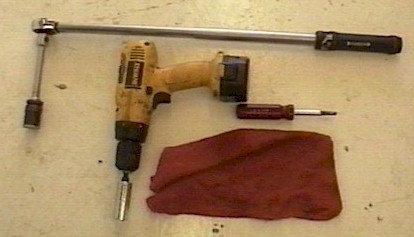
Prepare tools
We need a torque wrench, 5" socket extension, 19mm Socket, flat-blade
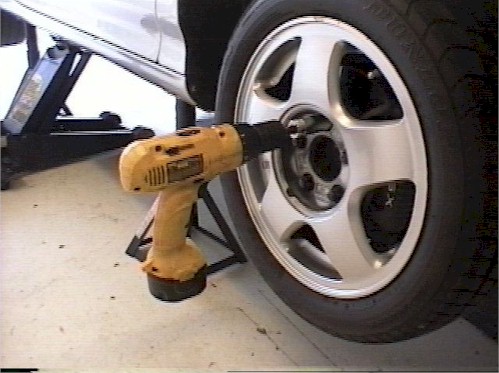
screwdriver and a shop rag. A good cordless screwdriver with a socket
adapter and 19mm socket will make removal/installation of the lug nuts fast and
easy. If you have air tools, then a nice impact wrench will make things
almost too easy.

1991-1993 Wheels
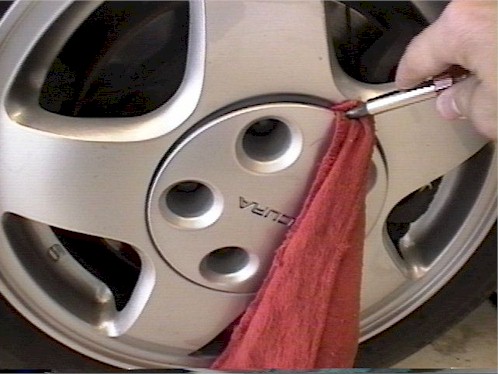
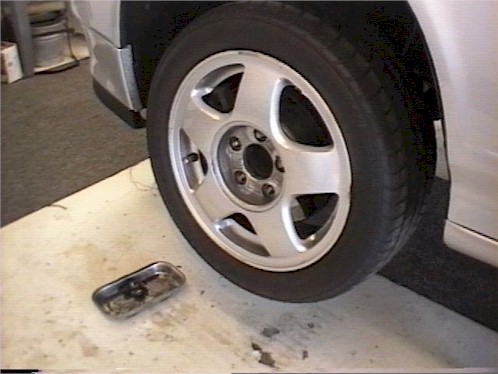
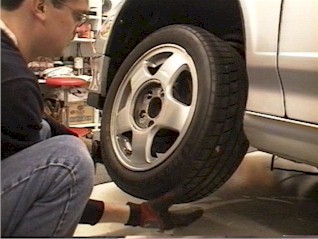
1. Pry out the plastic center cap with the flat-blade screwdriver, use the
shop to prevent the blade from scratching the wheel. There is a notch in the
cap where you can place the
screwdriver blade. The notch should be in line with the valve stem.
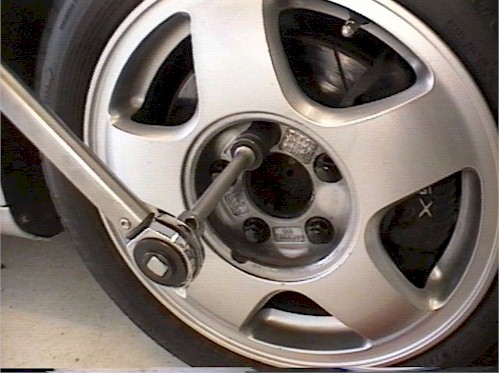
2. Loosen all five lug nuts on each wheel you want to remove about 1/2 turn. Use your torque wrench, 5" extension and a 19mm socket to initially loosen the lug nuts.
3. Jack and support the vehicle.
4. Completely remove the 5 lug nuts.
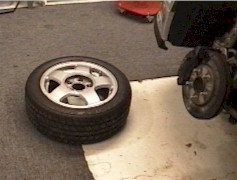
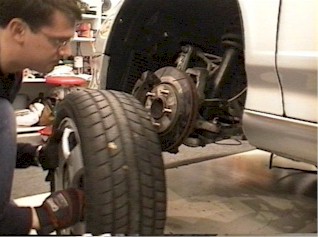
|
Although the wheel will dangle from the wheel studs, it should be removed as quickly as possible. Place the wheel on the ground face up. |
|
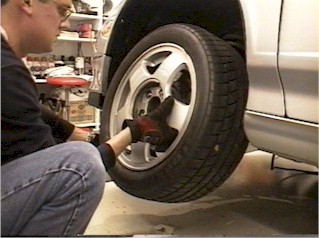
1. Placing the wheel on the hub can be tricky and hard on your back if not done properly. First, while the wheel is still on the ground, position it so the holes line up with the studs. Next, squat down and lift the wheel up and onto the wheel studs, try to keep your back straight during the process.
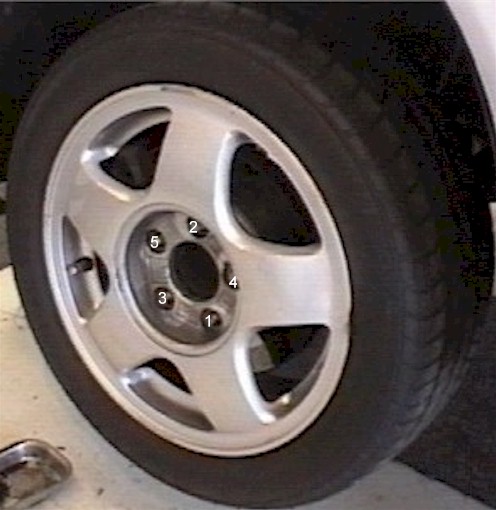
2. Screw in the lower lug nut hand tight (# 1), making sure the wheel seats properly on the hub. Install the rest of the lug nuts hand tight in a star pattern as shown above. The cordless screwdriver makes quick work of this.
3. The final torquing of the lug nuts should be done with the wheel secured either by the brakes or by lowering the car to the ground. I prefer to torque the lug nuts while the car still on the stands. This means I have to have someone engage the brakes or do it myself with a piece of wood placed between the driver's seat and the brake pedal. If you have been doing brake work, this is a good way to double-check to make sure you have a firm pedal before lowering the car to the ground.
4. Tighten the lug nuts in a star pattern to 80 lb-ft. I typically go around the pattern 3 times, once to torque them to about 40 lb-ft, second to torque to 80 lb-ft and the third just to double-check my work.
5. When you're finished with torquing the wheel, place the plastic center cap on the wheel. Line up the groove with the valve stem.
I like to replace the center cap immediately after I have finished torquing the wheel, that way if I get interrupted I know the wheels without covers are the ones that still need to be torqued.
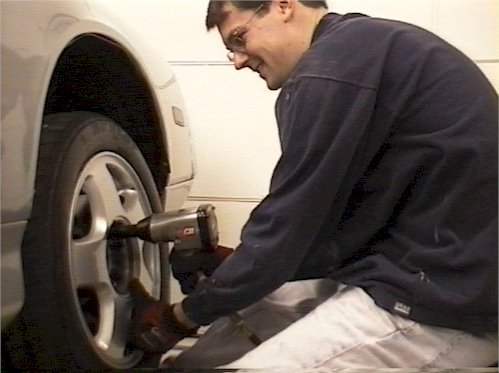
Air tools make removal/installation a snap. Look at this guy, he's smiling <g>.