Replacing
Spark Plugs
| Time, Total Time, Cost, First-Time Cost | 60min, 60min, $90 ~$15 per plug |
| Number of Persons | 1 |
| Difficulty level | 3 |
| Tools | Micro torque wrench (to 13 lb-ft), 10mm socket, 5/8" or 16mm spark plug socket, multi-meter (optional), feeler or plug gauge (0.043 and 0.051 inch), towels and/or several rags, parts tray, 5" socket extension, 3" wobble extension |
| Special Tools | |
| Special Parts | Spark Plugs (PFR6G-11 NGK) PN:98079-5614H |
| Service Manual Pages | 23-92 - 23-94 |
| Service Interval | Every 6 years or 60,000 miles |
| Prerequisite | Open the engine hatch <g> |
| The FAQ www.nsxprime.com, spark plugs |
10mm Socket not pictured
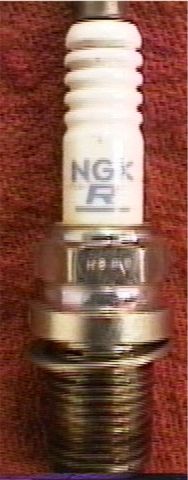
1a. Prepare plugs. We'll need some spark plugs--the
right kind of sparkplugs like the ones listed in the service manual and in the
parts book: NGK PFR6G-11 or ND PK20PR-L11 for most of our
cars. If you have any internal engine modifications or have a supercharger
installed (or drive in extreme hot climates) , then you may want to check with a qualified mechanic to make sure you
order the correct plugs. Your plugs arrive pre-gapped but it's still wise
to check the gap on your new plugs before starting this procedure. The
0.051 in. gauge should not be able to fit into the
"gap", while the 0.043 in. gauge should. If this is not the
case, then don't attempt to adjust the gap, instead replace the plug with a new
one (see service manual page 23-94).
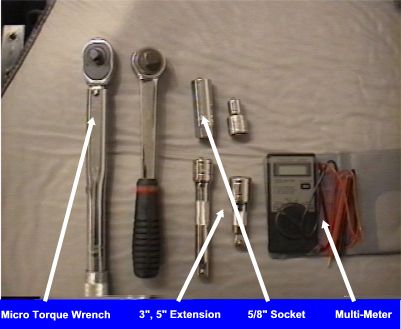
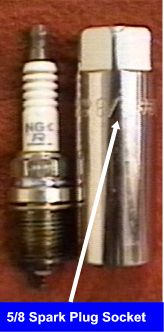
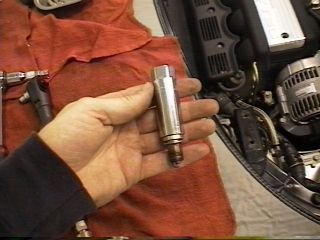
1b. Prepare tools. We'll need a 5/8" spark plug socket or 16mm spark plug socket. I
can't find a 16mm socket so I use a 5/8" (15.875mm), which is close enough
and actually fits better than a 16mm socket would. We'll need a 10mm
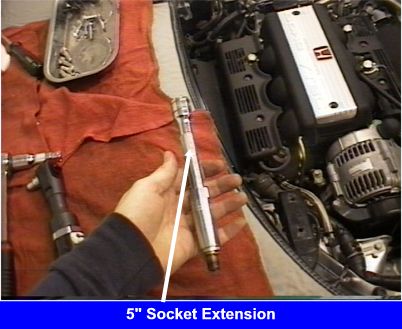
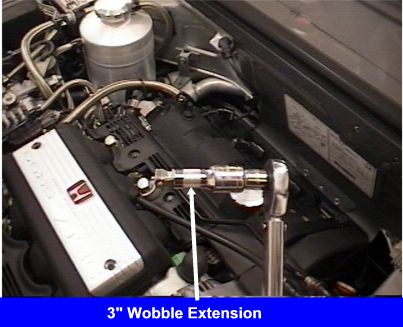
socket (not pictured above), a 5" socket extension and a 3"
extension. I like to use a 3" wobble extension because they are easy
to put on/off, which works well for this procedure. A micro torque
wrench, or a regular torque wrench capable of a torque down to 13 lb-ft. A
digital multi-meter is needed to perform the ignition coil test, which is
optional but fun and easy.
<--
Rear
Front -->
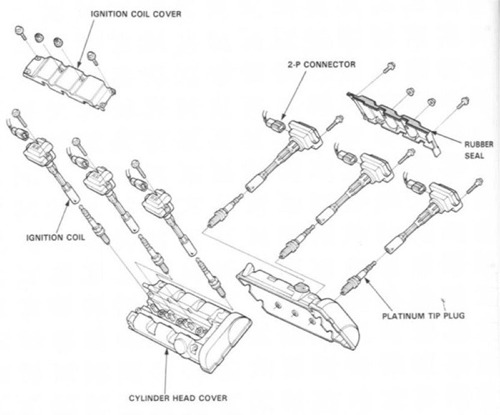
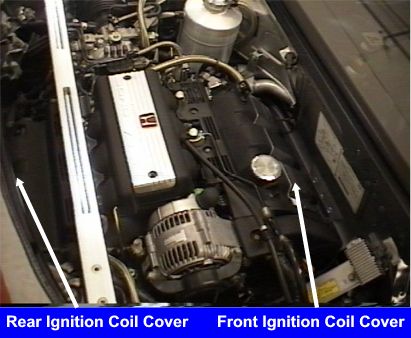
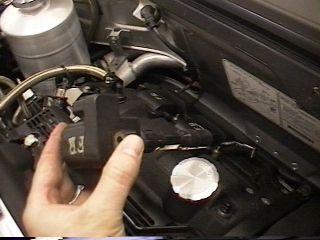
We'll be replacing six spark plugs, three on the front cylinder bank and three on the rear. The front cylinder bank is the one where the oil filler cap is located. The NSX is one of a few cars that have a separate ignition coil directly connected to each spark plug, we'll have to remove these coils to get to the plugs. On the early model cars (91-94) there is a separate part number for the front bank of ignition coils and the rears. On these cars, the coils are labeled "FR" for front and "RR" for rear, it's a good idea to double-check when installing the coils to make sure they don't accidentally get mixed up. I like to do this procedure one bank at a time, this helps keep the parts tray from getting too cluttered with screws and things and helps reduce overall confusion.
2. Setup. Use your NSX service mat (if you have one) or a few towels to help keep from scratching your nice paint. Drape a towel down the passenger side from the engine compartment to the floor, where you'll be leaning up against the body of the car, and also put several towels over the trunk where there's a tendency to lay tools and parts.
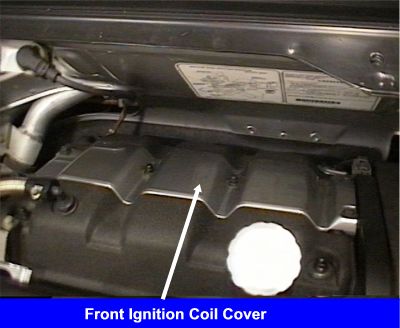
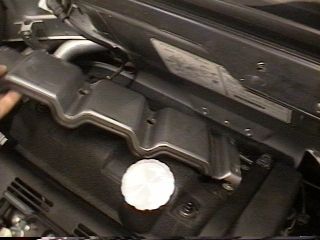
3. Remove front/rear coil cover. Use a 10mm socket (a 3/8 drive deep-well works well) to remove the 4 screws and 2 acorn nuts (7 lb-ft). Note the direction of the coil cover when it comes off. When we replace the cover, the black rubber seal running along the edge should face the top of the motor. This seal helps prevent water from getting into the ignition coils and plugs when washing the engine. Water in these parts is a bad thing and many coils have been ruined this way.
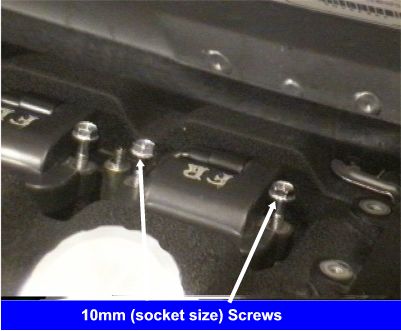
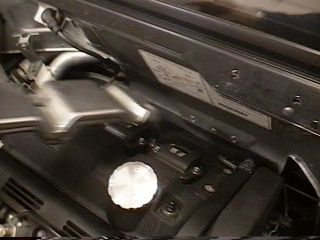
4. Remove Coil Screws. Using our 10mm socket, remove the 2 ignition coil screws (9 lb-ft). For the sake of efficiency, I like to remove all six of these screws at once. An air ratchet is a wonderful tool to use here <g>.
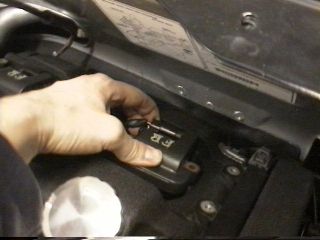
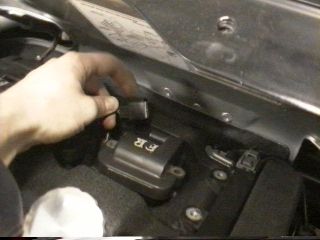
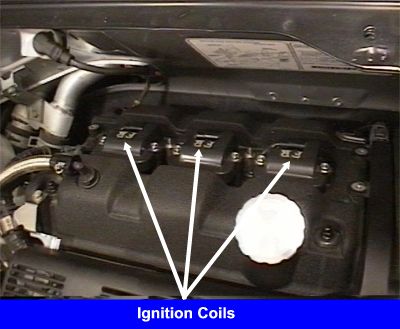
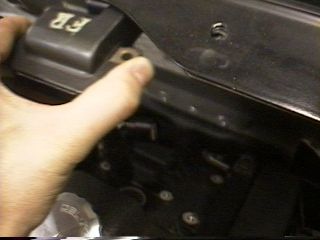
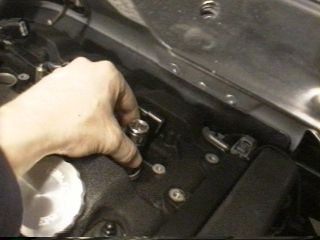
5a. Remove the coil connector. OK, until you get the technique down, this can be a real pain in the arss. The connector has a tab located on the back side. Look at the picture (above, left) and note my index and thumb position. Once you have your hands in this position, press (hard) on the tab under your index finger until you hear a "click" sound, then pull the connector away (above, right). This can be hard at first, but once you figure it out, it's pretty easy. You may have to wiggle up on the coil to raise it a few cementers and make room for your fingers to get a good grip on the connector. It may be easier to start with the coil on the drivers side and pull out the coils as far as they can go while still connected.
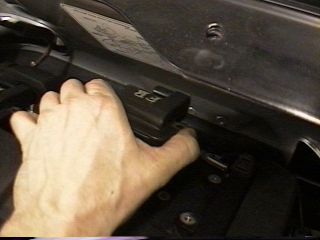
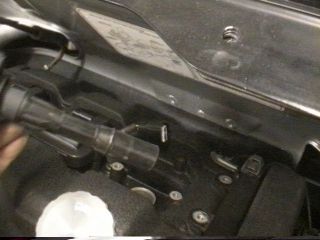
5b. Remove the coil.
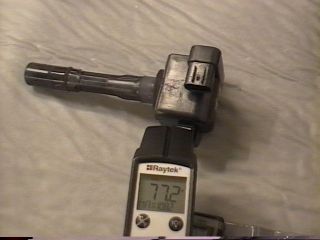
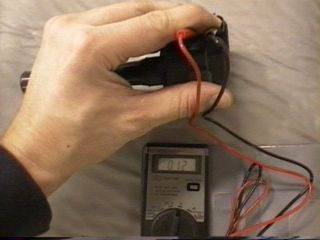
6. Ignition Coil Test (optional). The service manual says the resistance between the two coil terminals should be between 0.9 and 1.1 ohms at 77 degrees F (25 degrees C). Coil resistance is dependent somewhat on temperature. If your car is running fine and the coils are within a few hundredths of the specified value then I wouldn't be too concerned...but then again, I'm just a hack mechanic <g>
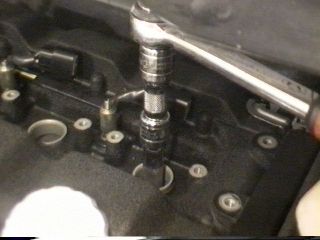
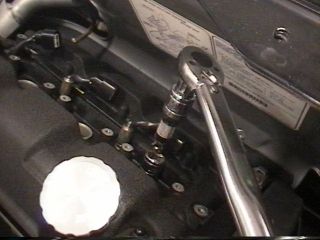
7. Remove the plug. Lower your spark plug socket with 5" extension down into the plug cylinder and turn the extension by hand until the socket engages the spark plug. Then hook up your ratchet (set to loosen) with the 3" extension and loosen the plug. Detach the ratchet from the 5" extension and unscrew the plug the rest of the way by hand and carefully guide the plug up out of the hole.
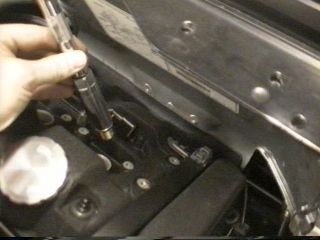
8. Install new spark plug. Using your spark plug socket and the 5" extension, load the socket with the new plug.
9. Insert new plug. Lower the plug down into the plug cylinder and carefully screw in the plug until it's hand tight.
10. Torque spark plug. Attach your torque wrench and carefully torque the plug to 13 lb-ft. 13 lb-ft isn't very much so be careful not to over-torque.
11. Reinstall coils and coil cover. Installation is the same as removal. The torque settings for the ignition coils are 9 lb-ft and the coil cover screws/nuts are 7 lb-ft.
12. To change the rear bank, follow the same procedure above. Unfortunately, there's not a whole lot of room to work with back there so it takes a little longer to change the rear bank.